Did you know that a simple bathroom renovation, such as replacing your bathtub faucet, can completely transform the look and function of your space? Upgrading your outdated fixture to a modern design can give your bathroom a fresh new look and enhance your everyday experience. Whether you’re a DIY enthusiast or looking for tips before hiring a local plumber, this guide will walk you through the process of installing a new bathtub faucet and help you achieve the bathroom of your dreams.
Key Takeaways:
- Replacing your bathtub faucet can give your bathroom a stylish upgrade.
- Before starting the installation process, determine the type of bathtub faucet you have (slip-on or threaded).
- Remove the bathtub handles and spout carefully using the appropriate tools.
- Replace the bathtub cartridge and handles with matching ones.
- Ensure a proper seal by applying caulk when necessary.
Determine the Type of Bathtub Faucet
Before replacing a bathtub faucet, it’s crucial to identify whether it has a slip-on or threaded design. A slip-on spout slips onto the water stub-out pipe and is secured with a set screw, while a threaded spout screws onto the end of the stub-out pipe without needing a set screw.
| Design | Description |
|---|---|
| Slip-on Spout | A slip-on spout slips onto the water stub-out pipe and is secured with a set screw. |
| Threaded Spout | A threaded spout screws onto the end of the stub-out pipe without needing a set screw. |
To begin the replacement process, follow these steps:
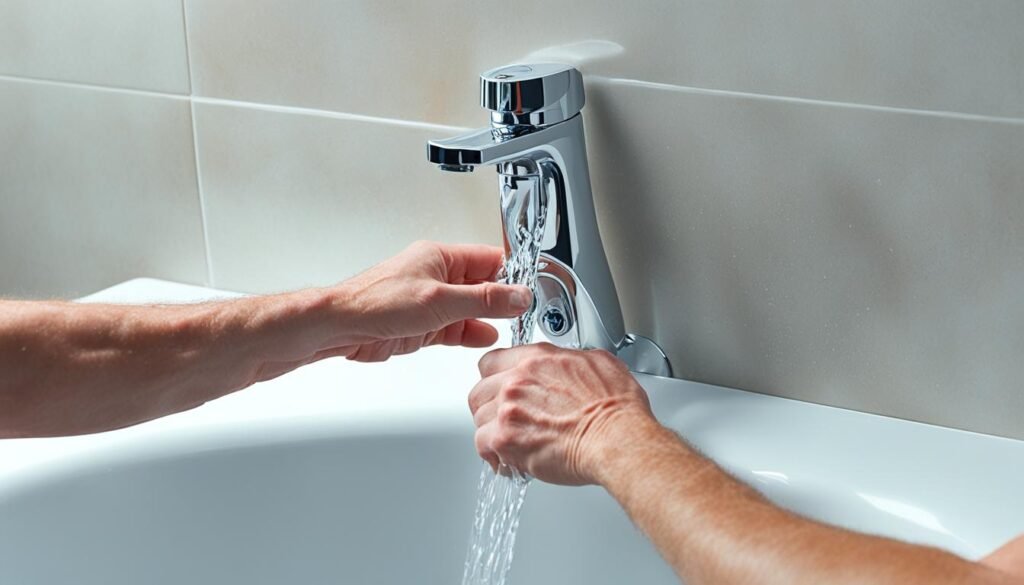
- Shut off the water supply to the house to ensure no water flows through the pipes during the replacement.
- Open the faucet to drain any remaining water in the system. This step is essential to prevent any water leakage during the replacement.
- Use a putty knife to remove any old caulk around the spout or handles. This will help in easily removing and replacing the faucet without any obstructions.
By determining the type of bathtub faucet and following these steps, you are ready to move forward with the replacement process.
Removing Bathtub Handles
Removing bathtub handles is a straightforward process, whether you have a one-handle design or a two-handle design. Follow these steps to successfully remove bathtub handles:
- Start by locating the handle’s plastic cover or index. This cover is typically located at the center of the handle and may have the brand logo or a hot/cold indicator.
- Using a flat-head screwdriver, gently pry off the plastic cover or index. If the cover is stubborn, a gentle wiggle or twisting motion can help loosen it.
- With the cover removed, you’ll now have access to the handle screw. Use either a flat-head or Phillips-head screwdriver, depending on the screw type, to unscrew the handle. Turn the screw counterclockwise until it is loose enough to remove the handle.
- Once the screw is removed, wiggle the handle back and forth while gently pulling it away from the wall. If the handle is stuck or difficult to remove, you may need to use a handle puller to apply extra leverage and remove it successfully.
- If you have a two-handle system, repeat the above steps for the other handle.
- Once the handles are removed, you’ll need to access the stem for further repairs or replacement. Look for a hex nut located behind the handle. Use a socket wrench to loosen the hex nut by turning it counterclockwise until it is loose enough to remove the stem.
This process will allow you to remove both one-handle and two-handle bathtub faucet handles, providing access to the internal components for any necessary repairs or replacements. Remember to exercise caution when using tools and always ensure the water supply to the bathtub is turned off before proceeding with any maintenance.
Now that we’ve covered removing bathtub handles, let’s move on to the next step: removing the bathtub spout.
Removing a Bathtub Spout
To upgrade your bathtub faucet, you need to remove the existing spout. The process varies depending on whether you have a slip-on or threaded spout design.
Removing a Slip-On Spout
If you have a slip-on spout, follow these steps:
- Locate the set screw at the bottom of the spout.
- Using an Allen wrench or appropriate screwdriver, remove the set screw by turning it counterclockwise.
- With both hands, firmly grip the spout and pull it away from the wall.
Removing a Threaded Spout
If you have a threaded spout, follow these steps:
- Use locking pliers or a pipe wrench to grip the spout.
- Turn the spout counterclockwise until it is free from the wall pipe.
When removing a threaded spout, take precautions to avoid scratching it. Place a cloth or duct tape between the spout and the jaws of the tool.
| Tools Required | Description |
|---|---|
| Allen wrench or appropriate screwdriver | Used to remove the set screw of a slip-on spout |
| Locking pliers or pipe wrench | Grips the threaded spout for removal |
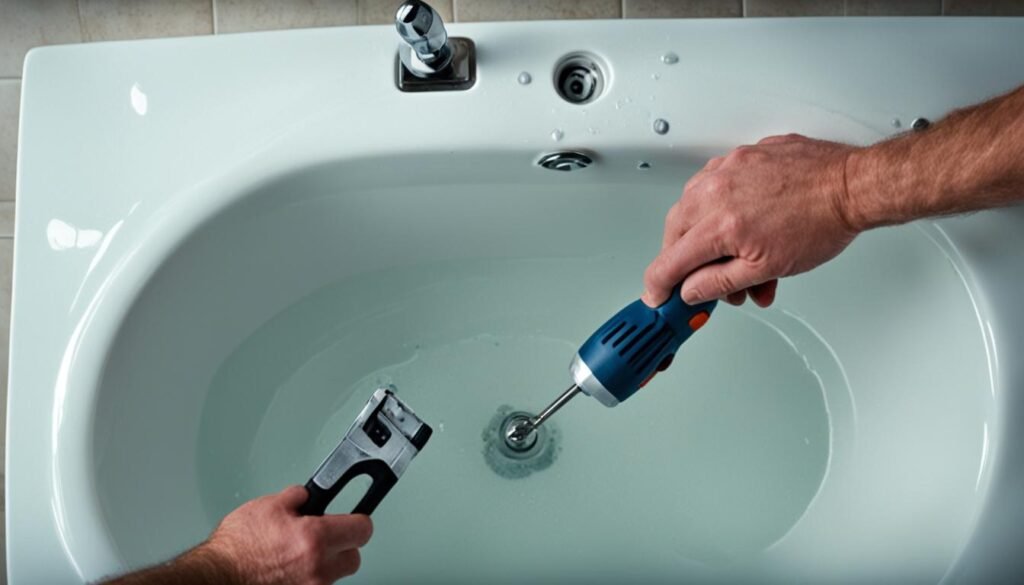
Replacing a Bathtub Cartridge
One essential component of a bathtub faucet is the cartridge, which plays a crucial role in regulating water flow and temperature. Over time, cartridges can wear out or become faulty, leading to issues with water control. To ensure optimal performance, it may be necessary to replace the bathtub cartridge. Here’s a step-by-step guide to help you through the process.
Gather the Necessary Tools and Equipment
- Pliers or a cartridge-pulling wrench
- Allen wrench (if applicable)
- Replacement cartridge
- Retaining clip
- O-rings
Remove the Handle, Escutcheon Plate, and Retaining Clip
Begin by turning off the water supply to the bathtub. Locate the handle and remove any decorative cap or cover, exposing the handle screw. Use a screwdriver or Allen wrench (if applicable) to unscrew the handle and pull it off.
Next, remove the escutcheon plate, which is the decorative cover surrounding the handle. This can usually be done by unscrewing or prying it off. Once the escutcheon plate is removed, you will have access to the cartridge and retaining clip.
Locate the retaining clip, which holds the cartridge in place. Use pliers or a cartridge-pulling wrench to remove the retaining clip. Be careful not to damage the clip or any surrounding components.
Extract and Replace the Old Cartridge
With the retaining clip removed, you can now extract the old cartridge. Grip the cartridge firmly with pliers or a cartridge-pulling wrench and carefully pull it straight out. Be cautious as you remove the cartridge, as it may be stuck or require some force.
Once the old cartridge is removed, inspect the O-rings for any signs of wear or damage. If necessary, replace the O-rings with new ones to ensure a proper seal.
Install the New Cartridge
Take the new cartridge and align it with the opening in the faucet body. Insert the cartridge firmly, making sure it sits flush against the faucet body. The cartridge should fit snugly and slide in smoothly.
Once the new cartridge is in place, secure it with the retaining clip. Insert the clip into the designated slot and ensure it is firmly in position to hold the cartridge securely.
Reassemble the Handle and Escutcheon Plate
Now that the new cartridge is installed, it’s time to reassemble the handle and escutcheon plate. Place the escutcheon plate back over the cartridge and secure it in place. Make sure it fits evenly and aligns properly.
Slide the handle back onto the cartridge stem and tighten the handle screw to secure it. Ensure the handle is positioned correctly and operates smoothly.
Your bathtub cartridge replacement is complete! Turn on the water supply and test the faucet to ensure proper functionality.
Now let’s take a look at the key benefits of replacing a bathtub cartridge:
| Benefits of Replacing a Bathtub Cartridge |
|---|
| Restores smooth and efficient water flow |
| Ensures accurate water temperature control |
| Prevents leaks and drips |
| Increases the lifespan of other faucet components |
| Allows for a more enjoyable and comfortable bathing experience |
Replacing Bathtub Faucet Handles
When it comes to replacing bathtub faucet handles, it’s essential to find replacements that match the old handles in size and configuration. This ensures a seamless installation and a consistent look in your bathroom.
To begin, you’ll need a new stem that aligns with the existing plumbing. Twist the new stem clockwise into place, making sure it fits securely. To tighten it further, use a socket wrench, ensuring a snug and leak-free connection.
Next, slide the new handle onto the stem and tighten the screw to secure it in place. Take care not to overtighten, as it can damage the handle or stem. Once the handle is securely fastened, snap the plastic cover back in place for a clean and finished look.
If you have a two-handle system, repeat these steps for the second handle, ensuring both handles and stems match in size and configuration.
If needed, apply caulk around the base of the handle to create a water-tight seal, further minimizing the risk of leaks or water damage. Caulk also provides a polished and professional appearance.
Remember, replacing bathtub faucet handles requires attention to detail and precision to achieve the desired result. Take your time and follow the steps carefully to ensure a successful installation.
| Tools needed: | Materials needed: |
|---|---|
|
|
Replacing a Bathtub Spout
When it comes to replacing your bathtub spout, it’s essential to ensure that the replacement matches the original fittings to achieve a seamless installation. Whether you have a threaded or slip-on spout, following these steps will help you complete the process with ease.
Replacing a Threaded Spout
If you have a threaded spout, you’ll need the following tools:
- Plumber’s tape or thread-seal tape
- Adjustable wrench or pliers
Here’s how to replace a threaded spout:
- Start by wrapping plumber’s tape or thread-seal tape around the threading of the wall pipe. This helps create a watertight seal and prevents leaks.
- Next, place the new spout in position and turn it clockwise to secure it onto the wall pipe.
- Use an adjustable wrench or pliers to tighten the spout, ensuring it is firmly fixed in place.
By following these steps, you’ll successfully replace a threaded spout and enjoy a fully functional bathtub faucet.
Replacing a Slip-On Spout
For a slip-on spout replacement, you’ll need the following tools:
- Set screw
Here’s how to replace a slip-on spout:
- Slide the new slip-on spout onto the pipe until it meets the wall behind the bathtub.
- Locate the set screw, which is typically situated near the bottom of the spout.
- Tighten the set screw using the appropriate tool, ensuring the spout is securely fastened to the pipe.
Completing these steps will ensure that your slip-on spout replacement is successful and ready for use.
Once you have installed the new spout, it’s important to apply caulk where the base of the spout meets the wall. This creates a watertight seal and prevents any leaks or water damage.
Conclusion
Upgrading your bathroom by installing a new bathtub faucet can give your space a stylish refresh. Whether you’re looking to enhance the aesthetics or improve the functionality of your bathroom, replacing a bathtub faucet is a relatively simple DIY project that can be done with common household tools.
However, if you’re unsure about your plumbing skills or have unique plumbing systems, it’s always a good idea to consult a professional plumber. They have the expertise and experience to handle any challenges that may arise during the installation process.
When considering the cost of a new bathtub faucet, it’s important to take into account the style and materials you choose. Prices can vary depending on factors such as the brand, design, and construction materials. You can find a wide range of options to suit different budgets and preferences.
Whether you decide to tackle the installation yourself or hire a professional, a new bathtub faucet can be a significant upgrade for your bathroom. Enjoy the enhanced functionality and aesthetics that a modern and well-functioning bathtub faucet can bring to your space.
FAQ
How do I determine the type of bathtub faucet I have?
Before replacing a bathtub faucet, it’s crucial to identify whether it has a slip-on or threaded design. A slip-on spout slips onto the water stub-out pipe and is secured with a set screw, while a threaded spout screws onto the end of the stub-out pipe without needing a set screw. To begin the replacement process, shut off the water supply to the house, open the faucet to drain any remaining water, and use a putty knife to remove any old caulk around the spout or handles.
How do I remove bathtub handles?
Removing bathtub handles is a similar process regardless of whether you have a one-handle or two-handle design. Use a flat-head or Phillips-head screwdriver to remove the handle’s plastic cover or index. Unscrew the handle screw and wiggle the handle to remove it. If the handle is difficult to remove, a handle puller may be necessary. For a two-handle system, repeat these steps for the other handle. Use a socket wrench to loosen the hex nut and remove the stem.
How do I remove a slip-on spout?
Removing a slip-on spout involves removing the set screw at the bottom of the spout using an Allen wrench or appropriate screwdriver. Pull the spout from the wall with both hands.
How do I remove a threaded spout?
To remove a threaded spout, use locking pliers or a pipe wrench to grip the spout and turn it counterclockwise until it is free. Take precautions to avoid scratching the spout by placing a cloth or duct tape between the spout and the jaws of the tool.
How do I replace a bathtub cartridge?
Bathtub cartridges regulate water flow and temperature. To replace a bathtub cartridge, remove the handle, escutcheon plate, and retaining clip. Use pliers or a cartridge-pulling wrench to remove the old cartridge and check the O-rings for replacement. Insert the new cartridge and secure it with the retaining clip. Reassemble the handle and escutcheon plate.
How do I replace bathtub faucet handles?
When replacing bathtub faucet handles, ensure that the replacement handles and stems match the old ones in size and configuration. Install the new stem by twisting it clockwise and securing it with a socket wrench. Slide the new handle onto the stem and tighten the screw to secure it. Snap the plastic cover back in place. For a two-handle system, repeat these steps for the second handle. Apply caulk to create a water-tight seal if needed.
How do I replace a bathtub spout?
Before replacing a bathtub spout, ensure that the replacement matches the original fittings. For a threaded spout, wrap plumber’s tape or thread-seal tape around the threading of the wall pipe. Place the new spout in place and turn it clockwise to secure it, tightening it with an adjustable wrench or pliers. For a slip-on spout, slide it onto the pipe until it meets the wall and secure it with a set screw. Apply caulk where the base of the spout meets the wall.
What should I consider before upgrading my bathtub faucet?
Upgrading your bathroom by installing a new bathtub faucet can give your space a stylish refresh. Replacing a bathtub faucet is a relatively simple DIY project that can be done with common household tools. However, if you’re not confident in your plumbing skills or have unique plumbing systems, it may be best to hire a professional plumber. Keep in mind that the cost of a new bathtub faucet can vary depending on the style and materials chosen.